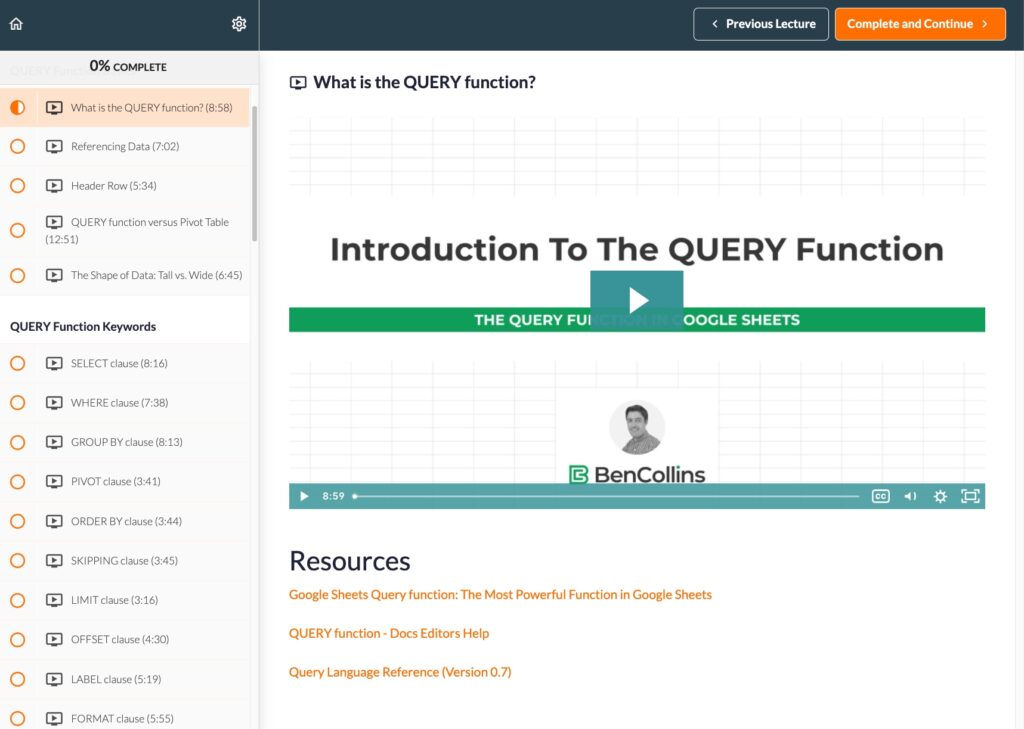
Last week I launched a new Google Sheets course — The QUERY Function In Google Sheets — so I thought it would be interesting and helpful to share how such a course comes about.
It’s my 14th online course and my 19th launch. Along the way, I’ve made just about every mistake in the book, but I’ve now settled on a reliable framework for online course creation, the outline of which I share below.
I think about technical video course creation in six distinct phases:
Phase 1: Ideation
Every course begins as an idea in the creator’s head, and this QUERY course was no exception.
I keep a running list of these course ideas. Whenever I think “oh, that would make a good course” or when I get an email from someone saying “please can you create a course about X”, I drop it into this list.
It’s nothing fancy, just a simple Google Sheet with a list of ideas underneath my existing online courses:
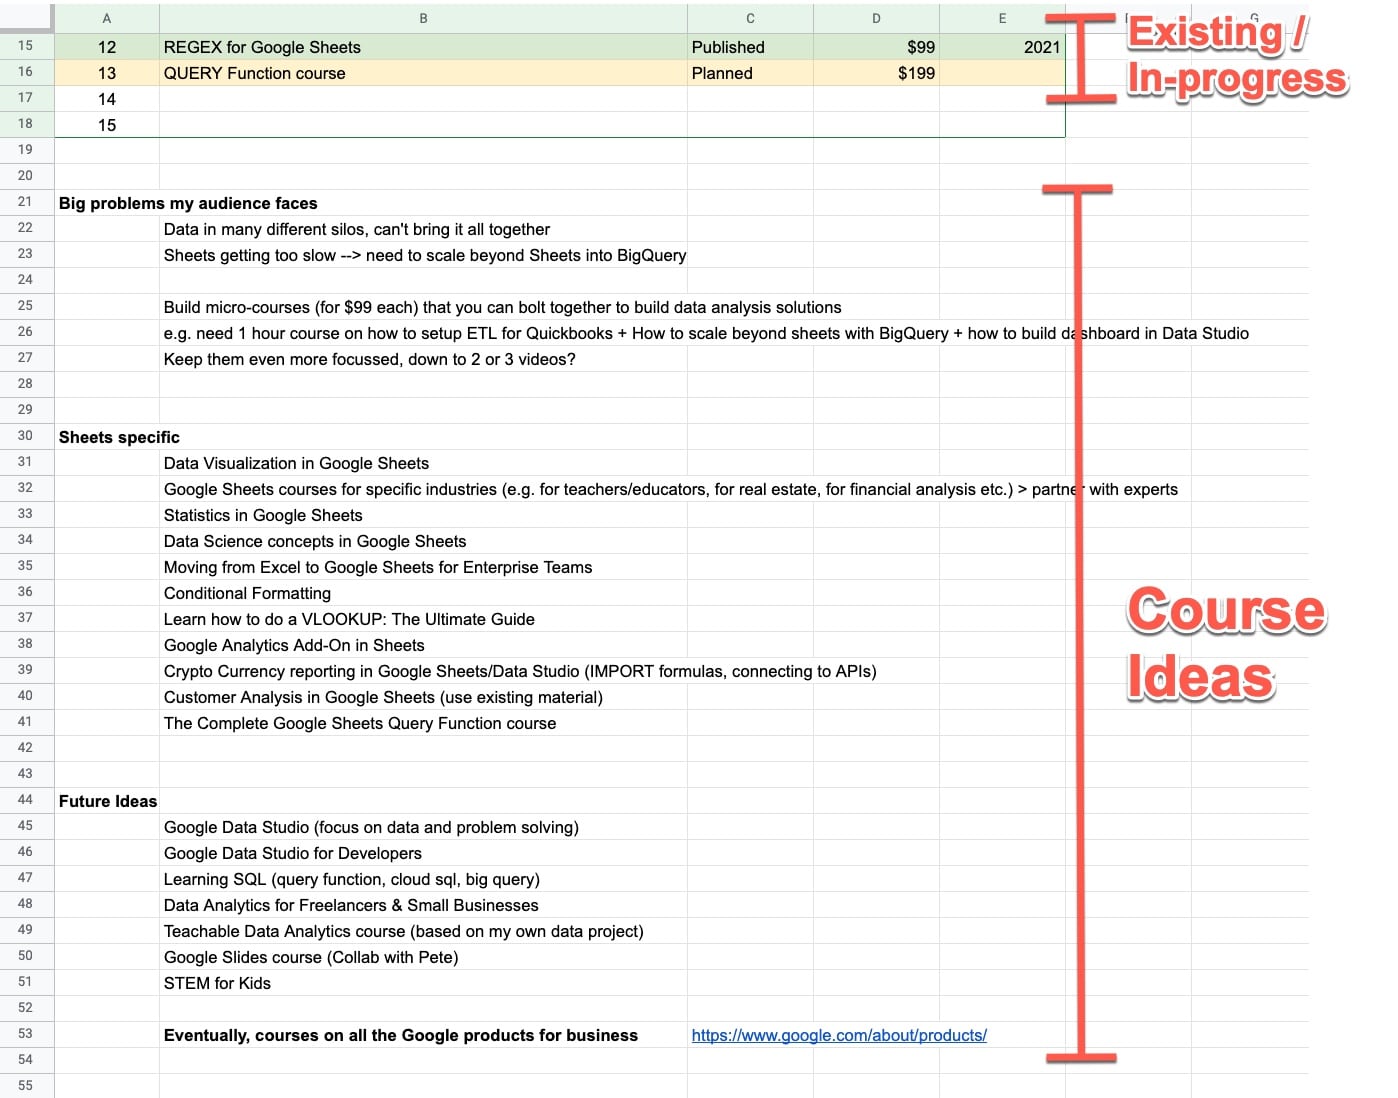
(Click to enlarge)
The majority of these ideas will never see the light of day. But I record them so that I’m not carrying ideas around in my head, where I’m liable to forget them.
How does an idea get chosen?
This is informed by a number of factors, but mostly by what I think will be useful for my audience, and what I have the skill and interest to create at that point in time.
Once I’ve chosen a new course to create, I move on to the research phase.
Phase 2: Research
The first thing I’ll do is set up a home for the new course in my Google Drive, in this folder: Products > Courses > Courses 2022
I create a new folder, with the course name, and add a blank spreadsheet, which becomes my central command center for the course.
This spreadsheet starts life with two tabs:
- Content
- Marketing
Content Research
On the content sheet, I build a list of potential topics to cover in the course. Since it’s a technical video course, I’ll research the heck out of the subject to learn everything I can about the topic. I read blog posts, watch YouTube videos, and usually pick up any relevant books that exist on the topic.
I drop every idea into the Sheet, no matter how crazy it sounds. The idea is to cast the net as wide as possible initially, so I capture everything about a topic. I whittle it down to a coherent syllabus at a later stage.
With this QUERY course, I started the initial topic list in 2020 (when I first had the idea for this course) and then added interesting problems and ideas into the Sheet over the next year and a half, based on questions and feedback I got from my audience.
The list is nothing fancy, just a plain list in my Google Sheet:
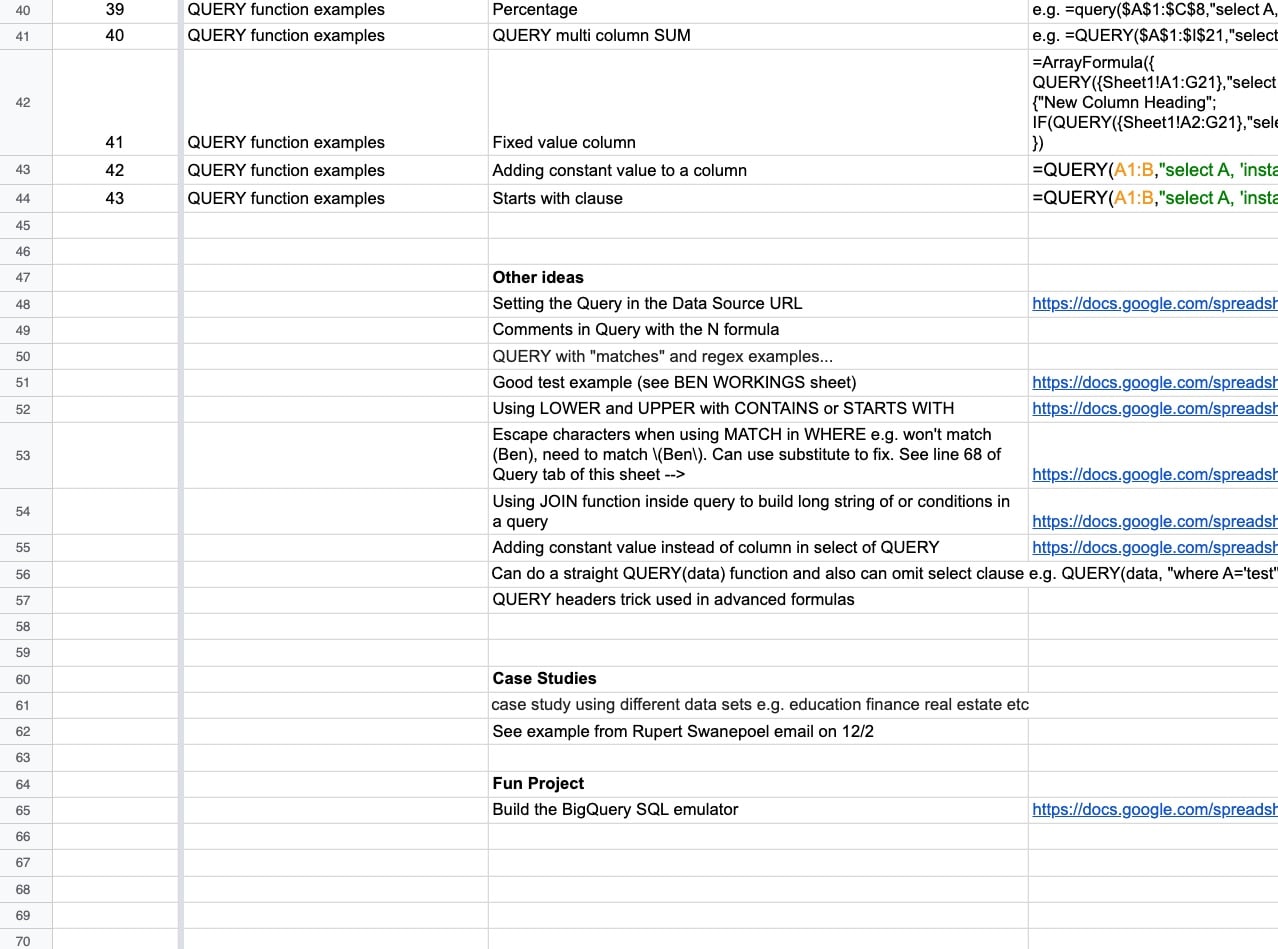
(Click to enlarge)
Typically, this phase could last anywhere from a couple of weeks (if I do it all in one go) to as long as a couple of years (if I curate ideas sporadically) as in the case of this QUERY function course.
Marketing Research
In the marketing sheet, I start a list of ideas, strategies, goals, partners, etc. for the course. I use it as a scratchpad for ideas.
What will the course format be? Video or live? Or something else? What price? What are my targets? How will I market it? What’s the approximate timeline?
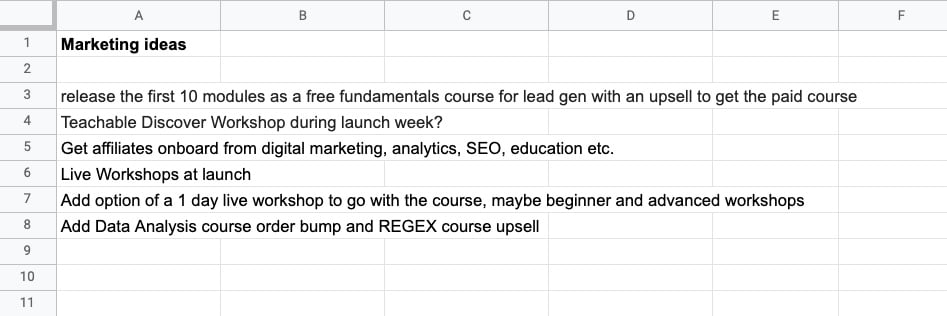
(Click to enlarge)
There is no polish at this stage. It’s just a brain dump of ideas, from which will emerge a coherent marketing plan in time.
Phase 3: Planning A Technical Video Course
I have to turn the jumble of ideas into a course syllabus, which means deciding what’s in and what’s out, what order to teach topics in, how to teach each topic, what datasets I will use, etc.
I cut lesson ideas that are not practical or too complex. Novelist Stephen King famously said, “you have to kill your darlings” and this applies equally well here. You have to be ruthless about removing lessons that don’t benefit your students. This can be hard to do.
I also decide what order the lessons will go in. This frequently changes as the course evolves, so here’s a pro tip:
Don’t label videos with a number and don’t say e.g. “welcome to lesson 8” in your recordings, to avoid issues if you decide to change lesson order.
The goal of this phase is to turn the list of ideas from phase 2 into a coherent syllabus. Of course, changes still happen when I start recording but the output of this phase will look similar to the final course.
The output of phase 3 is a syllabus that looks like this:
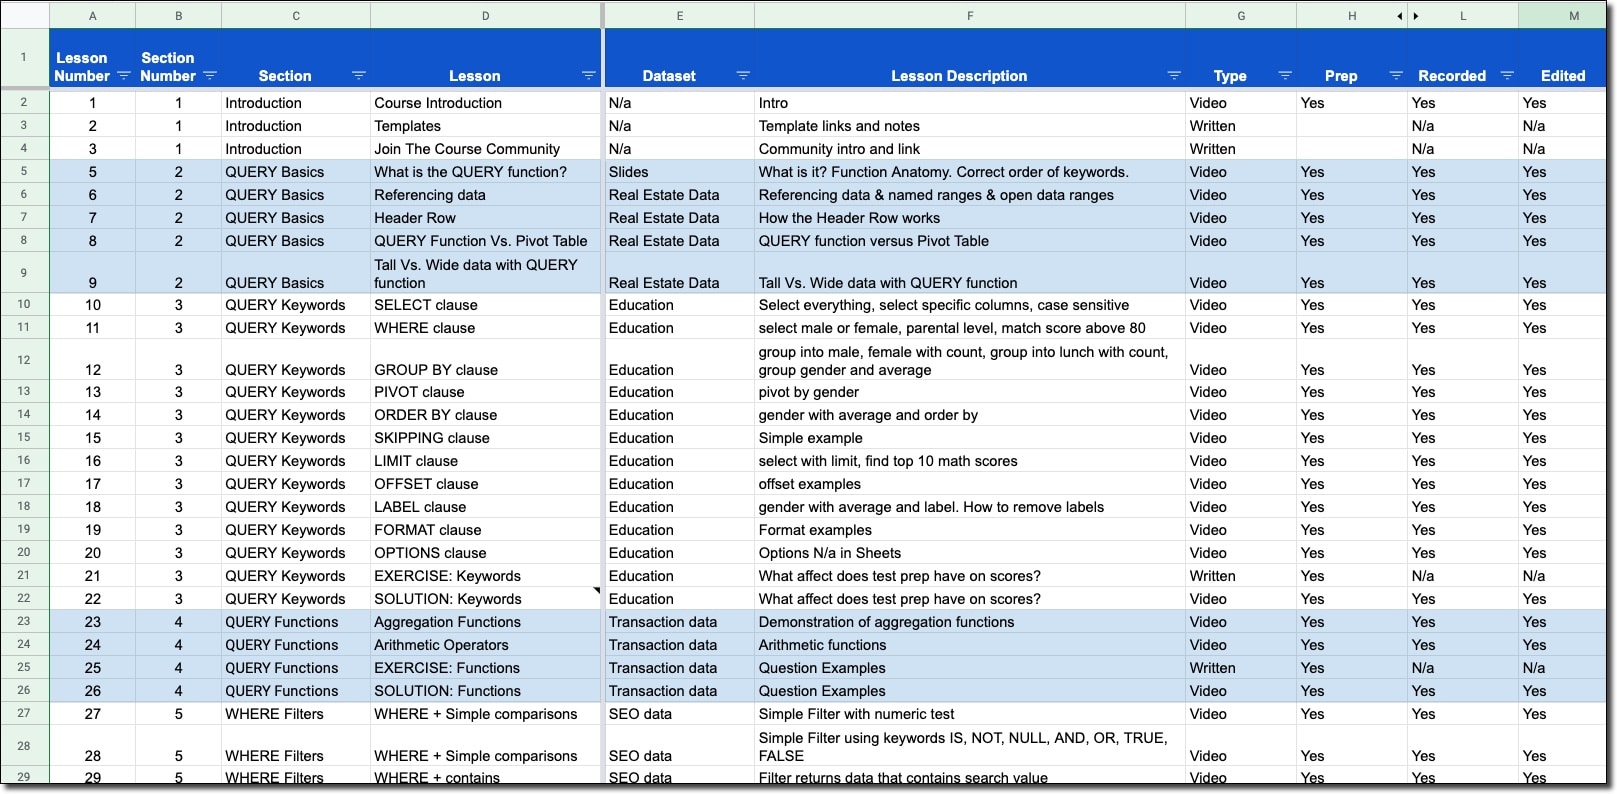
(Click to enlarge)
Phase 4: Course Creation
This is the phase when creators earn their money. It takes time to do well.
At a high level, these are the actions to bring the course to life:
- Create exercises and solutions in Google Sheets (started already in Phase 3)
- Refine the exercises
- Practice delivery
- Record videos
- Edit videos
- Compress videos
- Get feedback from beta testers
- Make edits based on feedback
- Create course graphics and slides
- Create the course on Teachable
- Upload videos and templates to Teachable
Video Creation Process
Before I record, I practice the formulas or code until I’m totally comfortable with it. I anticipate what questions a student might have so I can address those points in the video (e.g. does capitalization affect this function?).
To help during the recording, I create a doc with copies of any formulas or code that I keep open to the side of my recording window, so I can easily reference them.
I record screencasts using Screenflow, a Blue Yeti microphone, a Logitech C920S HD Pro Webcam, and an Elgato Key Light.
Recording Notes
- Record at 1080p resolution (1920 by 1080 pixels)
- Zoom browser to 150% (to ensure the Sheets menu is easy to read on the recording)
- Zoom the Google Sheet to 125% (to ensure the data is easy to read)
- Hide browswer bookmarks
I have 3 folders, one for each stage of the video process: Edited (for the Screenflow files), Exported (for the first exported mp4 file), and Final (for the compressed mp4 file).
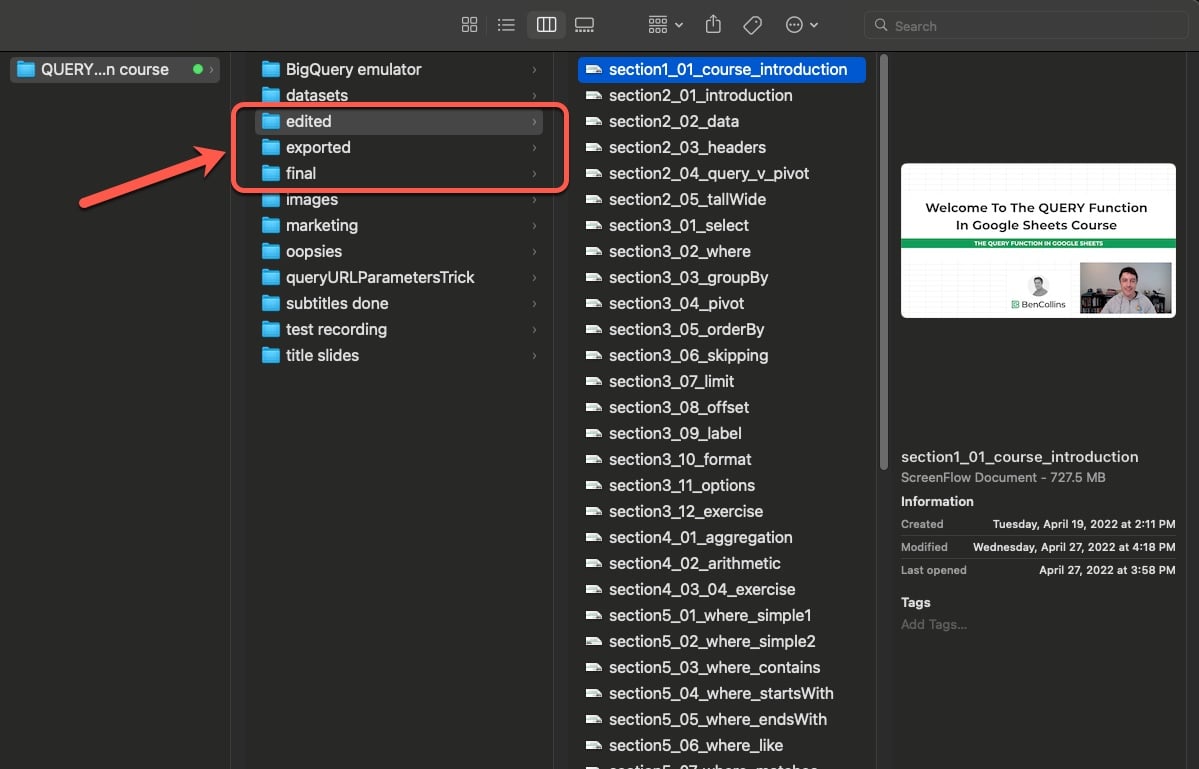
(Click to enlarge)
Editing Notes
I only do fairly light editing: cutting out uhms, ahs, coughs, sections when I’m rambling, and mistakes. Every minute of a video takes approximately 1.5 to 2 minutes to edit.
I also do the following fixes, all in Screenflow:
- Smooth volume levels
- Reduce background noise by 90%
- Add text overlays for shortcuts or other helpful scenarios
Export Notes
Videos are exported at 1920 by 1080 size and then I use Handbrake to compress them to shrink the file size.
I use Descript to create closed captions. There are always a lot of funny expressions to fix 😉
Graphics
During this creation phase I also get in touch with the design agency I work with to get a new course image.
For this query course, I used the image of a multitool to convey the versatility of the QUERY function:

The designers use the same template that I’ve used for previous courses. I make sure to start this early in the creation process so that I’m not waiting for it when I’m ready to upload the course to Teachable. Designers will need at least a couple of weeks to turn this around.
Phase 5: Launch
The launch is a huge topic in its own right. I won’t attempt to break it down here. I will just approach the subject from the creation and planning side, i.e. getting the course to market, not about maximizing sales.
As I get close to the end of the course creation phase, I create a checklist in my Google Sheet planner to guide me through the final steps to launch.
For my recent QUERY course launch, I listed the following topics:
- Finish recording
- Finish editing
- Finish compressing
- Upload all videos to Teachable
- Add closed captions
- Create sales page
- Add survey to course and email sequence
- Finish and test checkout
- Write email copy
- Create blog post
- Write LinkedIn copy
- Write Twitter copy
- Write Facebook copy
- Create affiliate links and resources
- Create sequence for buyers in ConvertKit
- Create automation rule for buyers in ConvertKit
- Add course to homepage of benlcollins prominently
- Add course to the top of relevant blog posts
In my planning Sheet, this is what it looks like:
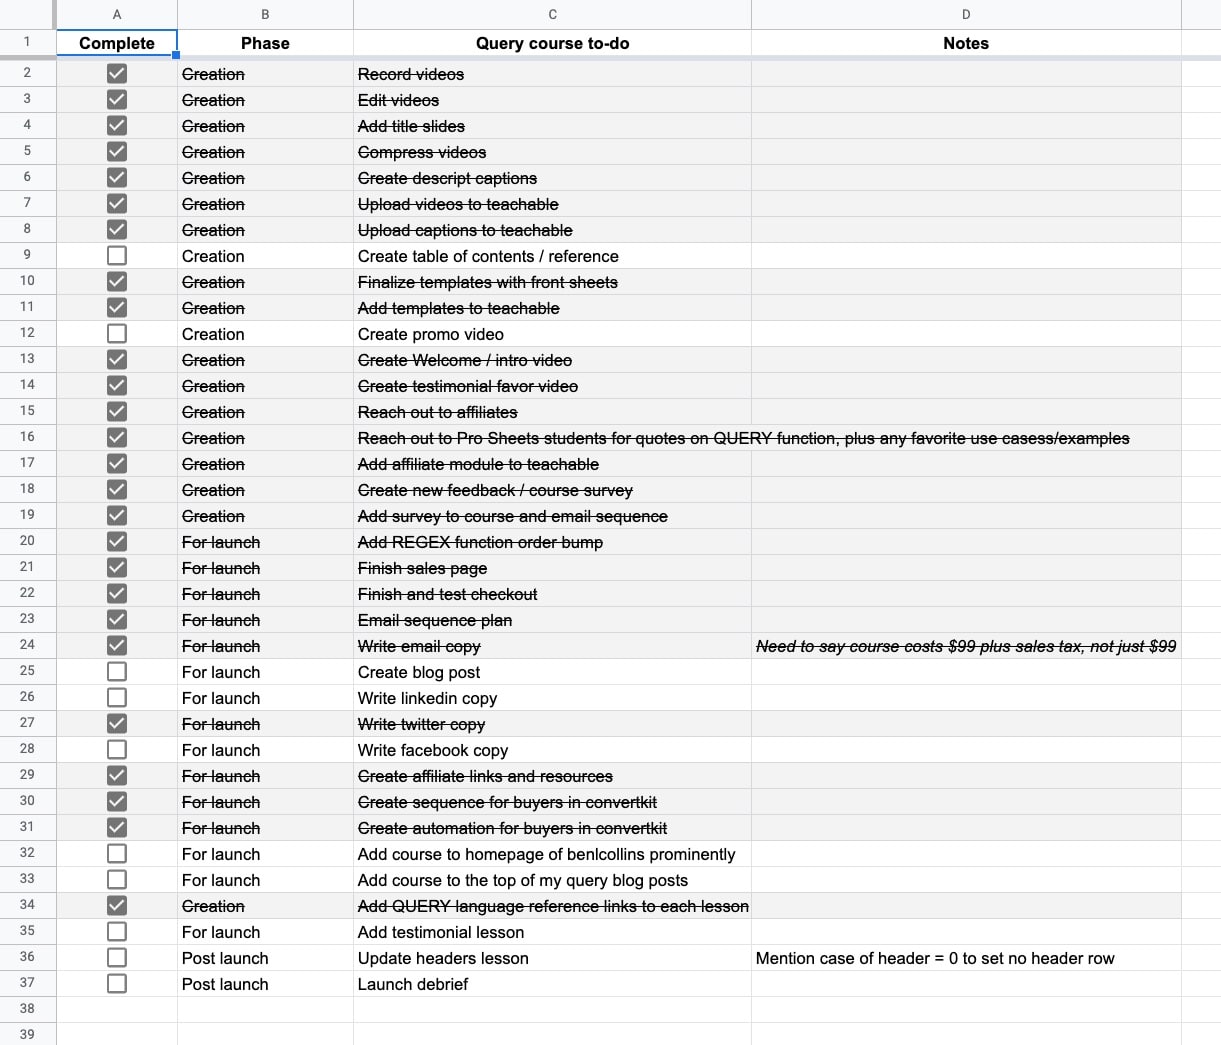
I use conditional formatting to apply a strikethrough and grey backgrounds to items that I’ve completed, similar to the technique used in this Google Sheets checklist.
And I create a timeline for the email sequence, leading up to the launch:

Again, I use conditional formatting to highlight the current day in yellow and days in the past in grey, so that I can see where I am at a glance. Normally I would have a longer timeline chart than the one shown above, but I was sick for a few weeks prior to this launch, so the runway was shorter this time.
Phase 6: Post-launch
The work doesn’t stop when you send your final close cart email.
You’ll likely have a higher-than-usual number of customer support questions during a course launch and in the immediate weeks after. Both logistics questions and content questions.
I keep a list of any issues with the course and make time to fix them as soon as possible after the launch.
It’s also a great time to collect testimonials for the future. At the moment, I do this in a very ad-hoc fashion but I’m looking at systemizing it using a tool called testimonial.to
Another important activity at this stage is the Course Debrief. I start this during the launch week of launch and finish it the week after.
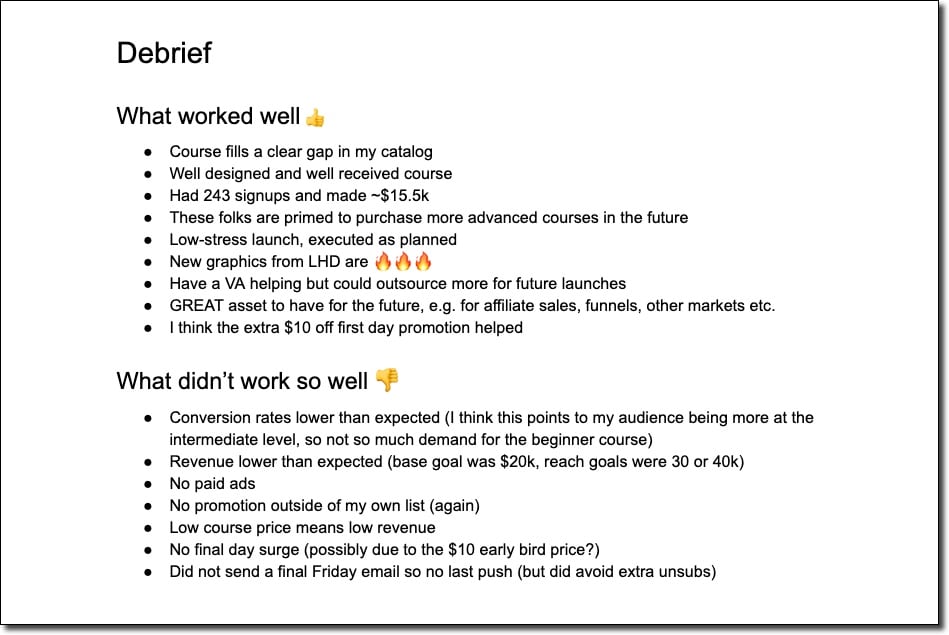
It includes any relevant metrics about the launch: revenue breakdown, email performance, website traffic, etc.
I also include a debrief section with items that went well and items that didn’t go well, so that I can use this data in subsequent launches:
There we go! That’s how I create and launch an online, technical video course.
Good luck with your own course creation journey! Let me know if you have any questions or thoughts in the comments section below.